Data-driven instruction. I am sure you have heard these words during staff and curriculum meetings, right? Keeping track of formative and summative assessment data for your students can be a chore, but when you use technology to streamline the process, everyone benefits! I love using Google Forms to help organize data and use the information obtained to inform instruction in my classroom. To understand how to use data in Google Forms, follow these easy tips!
Why Google Forms?
When I started teaching, auto-graded quizzes like my standards-based mini-assessments and Google Forms weren’t being used across the board in education. The newest thing was “clickers”, little remote looking tools that students answered questions on from paper tests. Teachers then had access to the data, but it was pretty basic. You could see the most commonly missed questions and have scores for each student accessible, but that was about it. It also required clunky equipment you had to set up in school before giving a quiz.
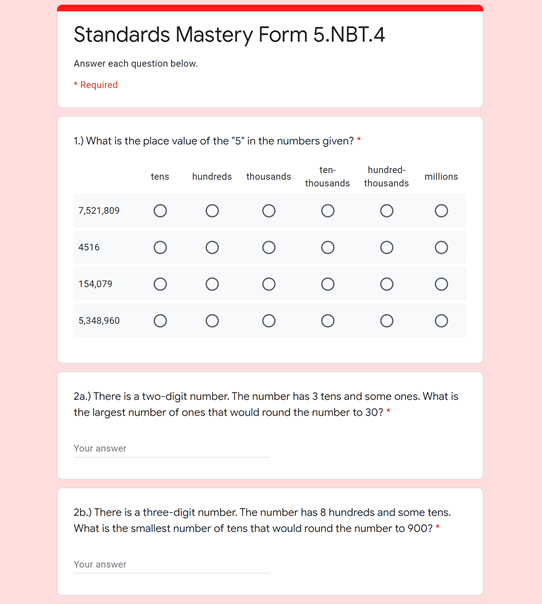
Google Forms now gives you the ability to create multiple-choice, short answer, or long-form answer questions. In addition, the output of data is available in words, graphs, and charts, so you can analyze based on students, classes, questions, or other variables.
Assign a Google Form Assessment via Google Classroom
The simplest way to share a Google Form assessment with your students is to assign the form via Google Classroom. Signing up for Google Classroom is free and simple to do from your Google Education account.
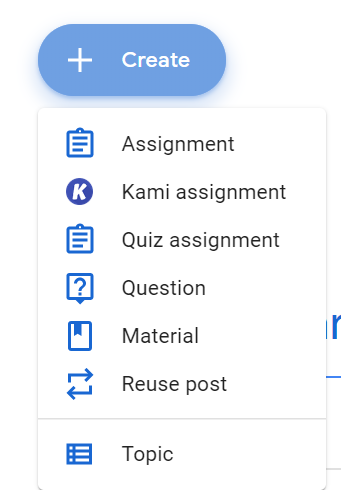
You can share a Google Form Assessment one of two ways. First, you can create a blank quiz directly from the Classwork tab in Classroom. When you click “Create”, the option is available for a quiz assignment. This creates a blank Google Form Quiz you can design and assign to your class.
If you have already created a quiz or use a ready-to-go standard-based mini-assessment, simply click on Send when you open up the form and copy and paste the link into Google Classroom.
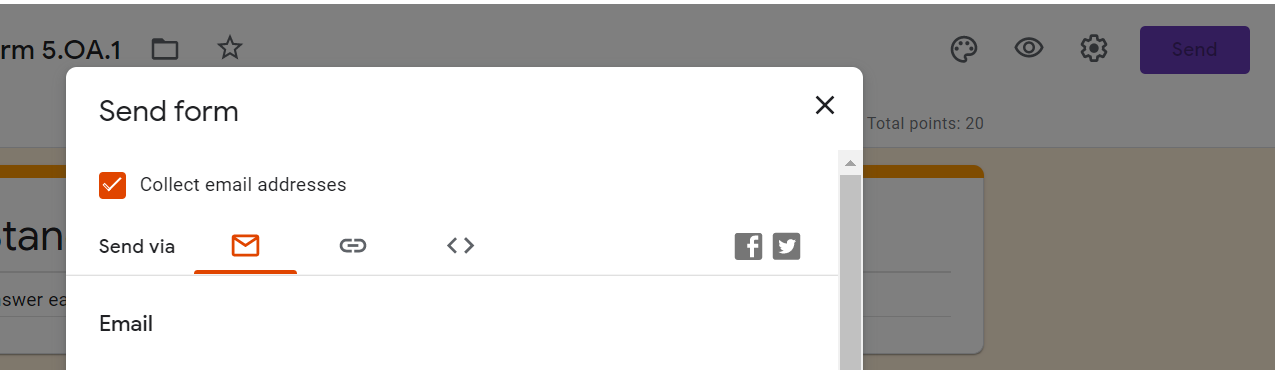
If your students have email addresses, make sure to click “collect email addresses”. This will make sure that the correct student is taking the quiz, and it will allow you to email the student their results and data if desired.
Select Proper Quiz Settings
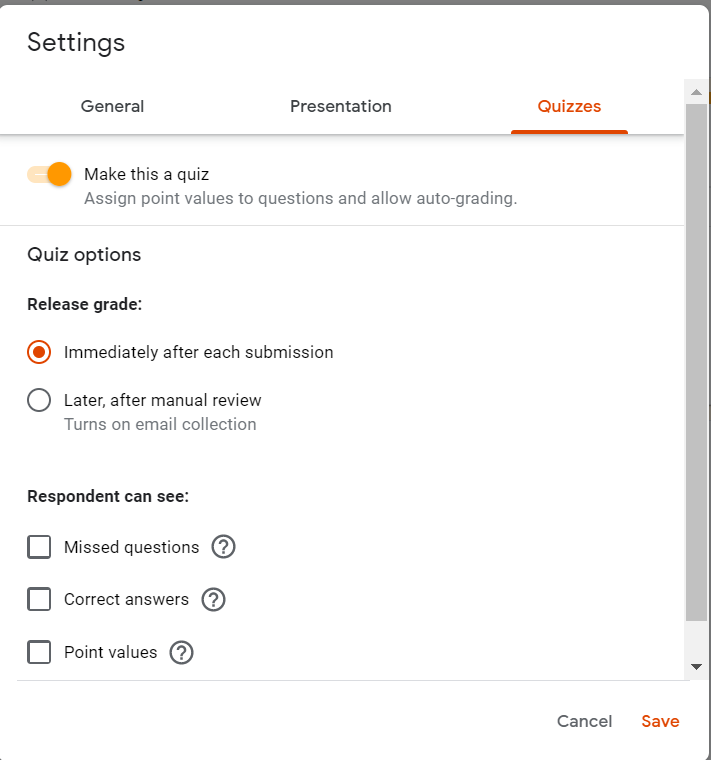
Before assigning the assessment, review your settings to make sure your students will be able to see the data and results you want them to see. Click on the gear wheel, then under settings select “Quizzes”.
When “Make a Quiz” is selected, your students will have assigned point values and you can also select answers as you create the quiz. Depending on the purpose of your quiz, you may choose for your students to see their results immediately or later after you review the results. You can also decide whether or not your students can see their missed questions, correct answers, and point values. The first two items are shown upon completion of the quiz if selected.
If you are using a standards-based mini-assessment, these settings are automatically set up to have point values and answers with grades released to students immediately after submission.
View Responses from Google Forms
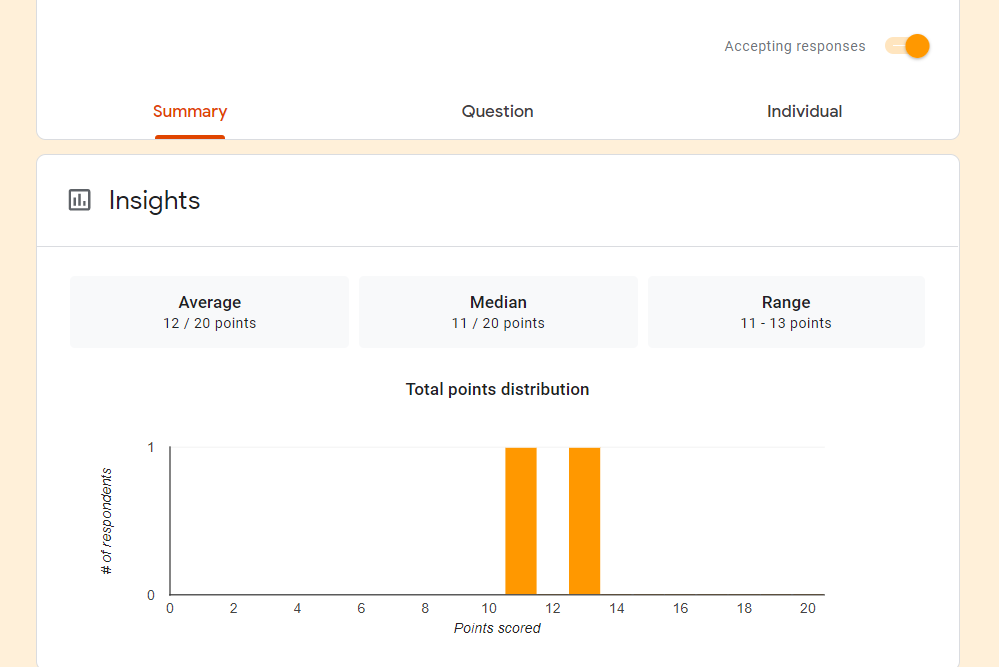
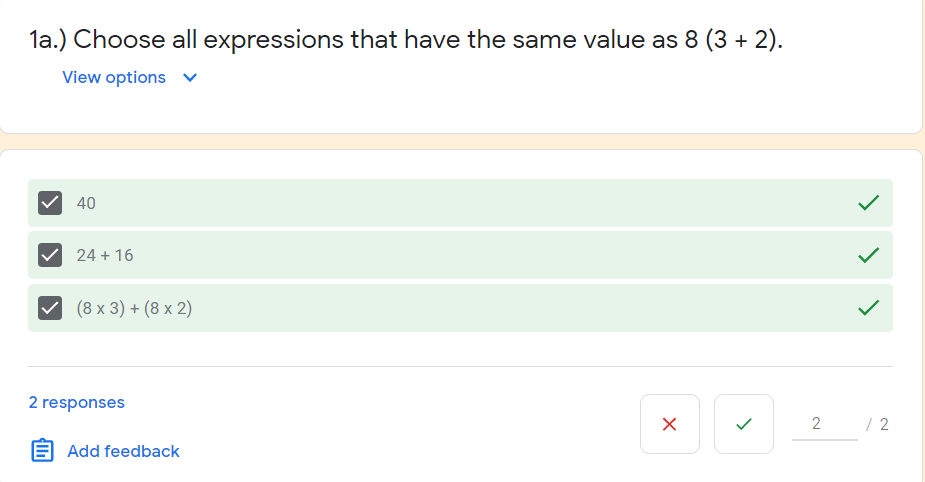
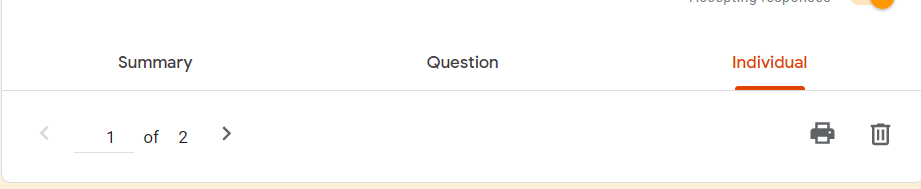
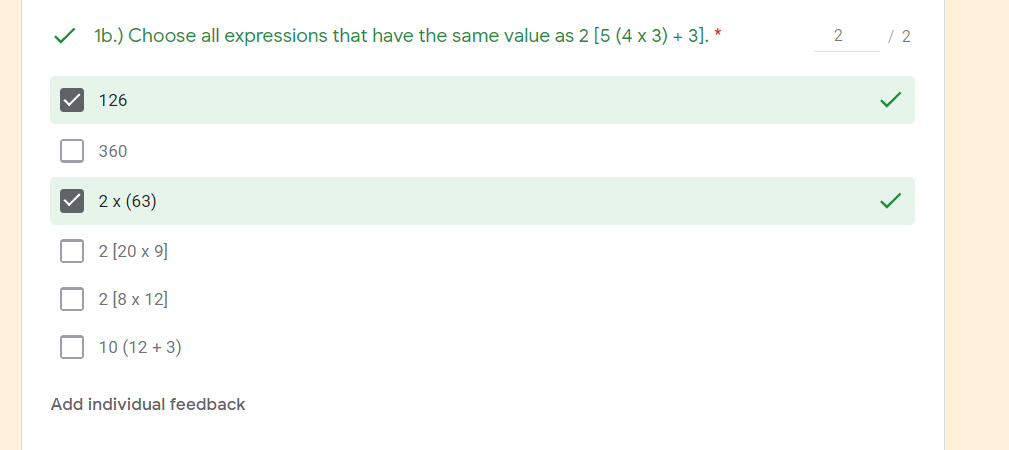
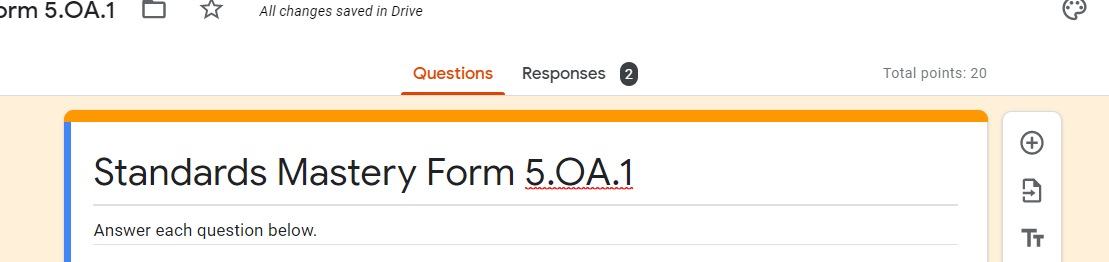
After your students complete their assessment, you’ll want to open up your Google Form. Clicking on Responses will allow you to view student responses as a class summary, by individual, or by question. This method is helpful in analyzing full class data or looking at how students performed on particular questions.
The visual representation via graphs along with the average, median, and range calculations that would have to be computed by hand on traditional quizzes are especially helpful in determining whether or not your class is understanding the standards overall.
Create a Google Spreadsheet.
When recording grades and looking at individual data however, nothing beats a spreadsheet! Click on “Responses” to begin the process to review the student data and create a Google Sheet.
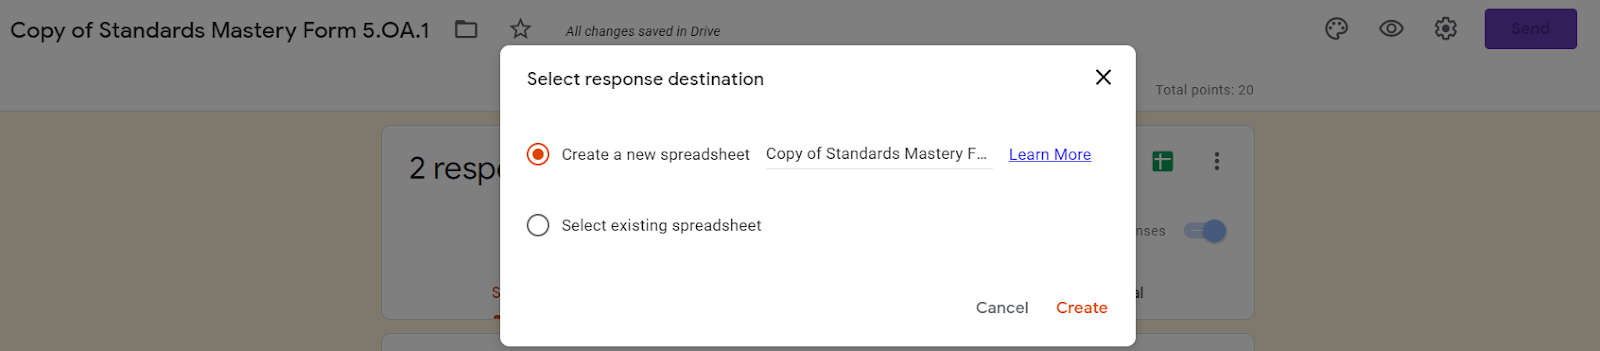
After clicking on responses, you’ll see a green icon. When you hover over it, it will say, “Create spreadsheet”. Google Forms and Google Sheets go hand in hand. When you click on the green icon, you’ll get the option to create a new spreadsheet. This sheet will take all the data from the Google Form assessment and organize it in an easily accessible spreadsheet.
Use Google Spreadsheets to Analyze Data
The spreadsheet starts by putting all the questions on a sheet. If you have student email addresses, you will see those directly after the timestamp. After that each question will be listed at the top. In each column, you’ll see individual students’ answers. It’s easy to scan or use CTRL F to find and select correct or incorrect answers.
I prefer using the spreadsheet to view grades to input into my physical or digital gradebook since the assessment score is easily accessible in the first column.
Spreadsheets also help when reviewing short answer or paragraph answers. It may be helpful to select individual questions or columns to print or copy and paste to a document or new sheet.
Using Google Forms and Sheets to understand and analyze data from student assessments will not only save you time grading, it will also help you understand what skills students need more practice on as you implement future lessons and assessments. Try using the standards-based mini-assessments for your students to cover number and operation in base ten, operations and algebraic thinking, fractions, measurement and data, and geometry. These fifth-grade assessments will help you understand where your learners’ strengths and opportunities for growth are by using the data you collect via Google Forms!