If you have not dived in to the Google Classroom craze yet, now might be the perfect time! Updates are coming out constantly, and many of them make our lives as teachers easier. The developers at Google Classroom are always looking for input on how to make their product more usable. The best thing is that, unlike many other tech companies, Google USES the input they get!
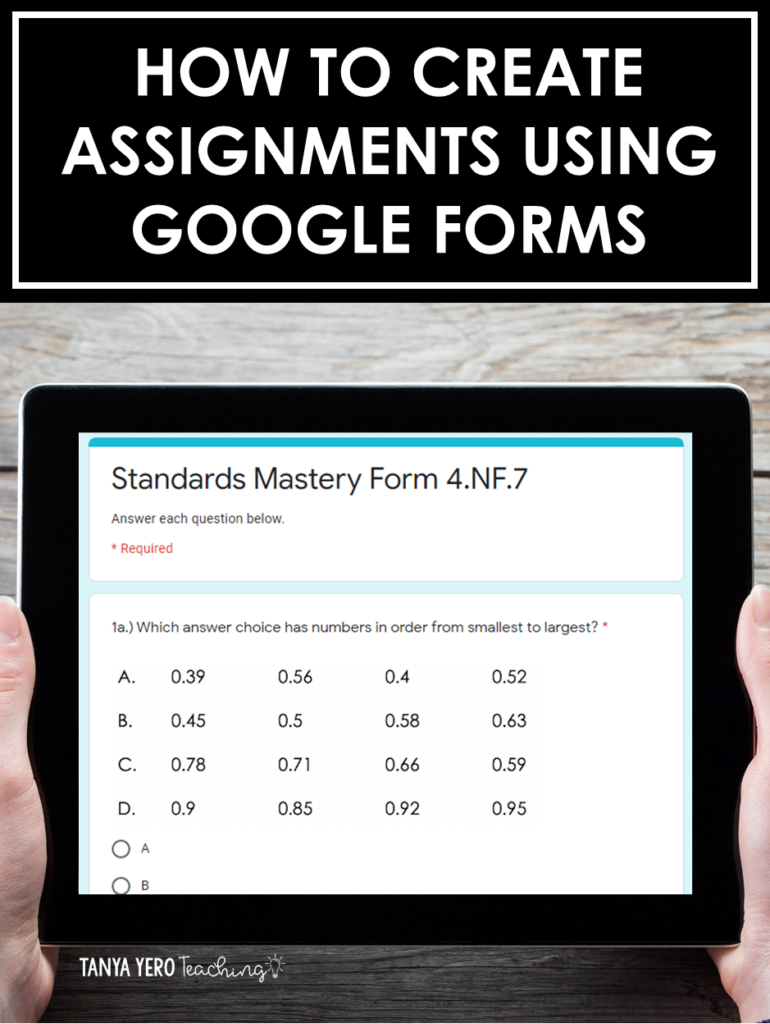
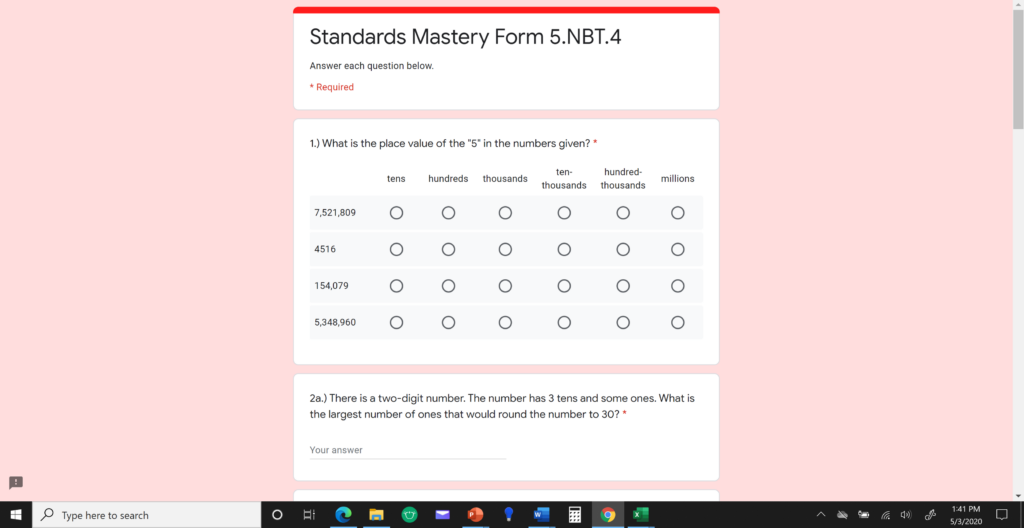
One of the first products I started using from Google was their Google Forms. I adore using them for Digital Classroom Escapes! I also created Math Mini Assessments that are standards based. Google Forms is perfect for this sort of resource for its auto-grading! If you haven’t experienced Google Forms in a while, you might be remembering something similar to SurveyMonkey – good for collecting responses, but not something you would necessarily use in a classroom. With all the updates that have been made to Google Forms in the last few years though, they are essential to any digital classroom. If you are new (or just coming back) to Google Forms, read on to find out How To Create Assignments Using Google Forms!
Where Do I Start?
If you have not yet explored Google Classroom, you definitely need to start there. I suggest creating two classes right away; a “Test Class” and a “Master Class.” The test class will be for trying out new ideas, testing things, and just generally messing around and making mistakes. The master class will be for any and all assignments you create. We will come back to that one.
On your Google Classroom home page, find the plus button in the top right corner. Then, click on “Create Class.” In the window that pops up, the only required information is a name for your Google Classroom. Nothing else needs to be filled in if you don’t want to. If this is your first Google Classroom, it may take a bit of time to create. Don’t worry – that’s normal! Google is working hard in the background to create not only the classroom, but a Google Calendar and Drive folder as well.
Option One: Create the Google Form First
As the Google Classroom teacher, you have a lot of options when it comes to assignments. When you are working on Google Forms you can either create it ahead of time and attach it to an assignment, or create it at the same time as the assignment. To get started, we can explore what creating the form first looks like.
You can get to the Google Forms page several ways; through the “Google Grid” at the top right corner of any Google app, through creating a new “Form” document in Google Drive, or through the Google launch page. However you get there, you want to click on one of the “Start a new form” options. Blank or template, use what you feel comfortable with.
I tend to start with a “Blank” form, just because I like the freedom it gives me. From there, I can give my form a name, add my questions, and make it look as exciting or engaging as I want!
Make sure that before you call it “done,” you check out the settings cog. There are currently three tabs in there you will want to check.
The “General” tab in settings allows you to change some settings that could allow students to fill out the form multiple times, collect email addresses, and other options. The “Presentation” tab changes how the form looks to students. Make sure to change the “Confirmation Message” so that it makes sense. Last, the “Quizzes” tab allows you to turn the form into a Quiz – which means it can auto-grade. If you turn this option on, make sure you decide whether or not you want students to see the answers right away or at all. Some students have been known to be a little “too helpful” to other students in later classes.
Create the Google Classroom Assignment
Back in your Google Classroom, find the tab marked “Classwork.”
Click on the “Create” button, and then select “Assignment.”
When you have your assignment opened, you can give it a title and write out instructions. Then, click on the “Add” button, and select “Google Drive.”
From there, you can find your newly-created <a From there, you can find your newly-created Google Form, and click on the “Add” button to attach it to the assignment.
Before you save the assignment, don’t forget to adjust the grade settings on the right-hand side of the screen. This is where I will always click on the “For: Test Class” drop-down and also check the box for my “Master Class.” Then, I can reuse this post anytime I want through the “Reuse post” option in the “Classworks” tab! Why do something twice when you can just reuse it? Adjust points possible, add a due date, and more before you click on the “Assign” button in the upper, right-hand corner. Voila! Your first Google Forms assignment!
Option Two: Create the Google Form Directly from Assignment
You may have noticed the “Create” button at the bottom of the assignment area we were just in.
Clicking on that allows you to create a Google App product right from the assignment itself. Genius! Click on “Forms” to get started. You will be taken directly into a brand new, untitled Google Form that you can name, add questions to, and make perfect for whatever assignment you are creating. Follow the same assignment creation steps as above once your Google Form is created, including adding the post to your “Master Class” as well.
Don’t Forget the Auto-Grading Quiz Option
One of the best changes to come about recently in Google Forms is the addition of a Self-Grading “Quiz” feature. There are a few things you as the teacher need to do to make sure this works correctly, though.
First of all, in the form itself, make sure you have “Make this a quiz” turned on in the settings area.
Change the other settings as you would like, but don’t forget to click on “Save”. This is counter-intuitive for anyone familiar with Google, so don’t forget that you do have to save this one.
The next thing to do is go back and tell your form what to look for to know whether the answer is correct or not, and how many points each question is worth.
Once you have the answer key and points set, you are ready to assign your quiz in Google Classroom.
There is something important to know about assigning this kind of form in your Google Classroom. When you click on the “Create” button, you need to select “Quiz Assignment” this time.
If you create a regular assignment, your quiz will not be able to auto-grade, which defeats the purpose. When you create the “Quiz Assignment,” Google Classroom will automatically attach a new, untitled quiz. You can use that one to create a new quiz, OR you can still click on the “Add” button to attach a quiz you already made.
Just make sure that the “Grade Importing” toggle is turned ON, and then assign it.
There are so many different ways to use Google Forms within your Google Classroom. My personal favorite is, of course, Digital Classroom Escapes. The students get SO excited about these activities, they even forget that they’re learning. How do you use Google Forms? Which idea from How To Create Assignments Using Google Forms are you most excited to try? Let me know below – and share your newfound Google Forms expertise so we can learn from you, too!