As a teacher, you are probably familiar with the major file extensions. Knowing the difference between a JPEG and a PNG may not be important, but you probably know what makes a PDF special! A document with “.pdf” at the end of it can be your best friend, or your worst enemy, depending on your experience with them and how you use them. PDFs have gotten a bad rap in the education world, but that doesn’t need to be the case!
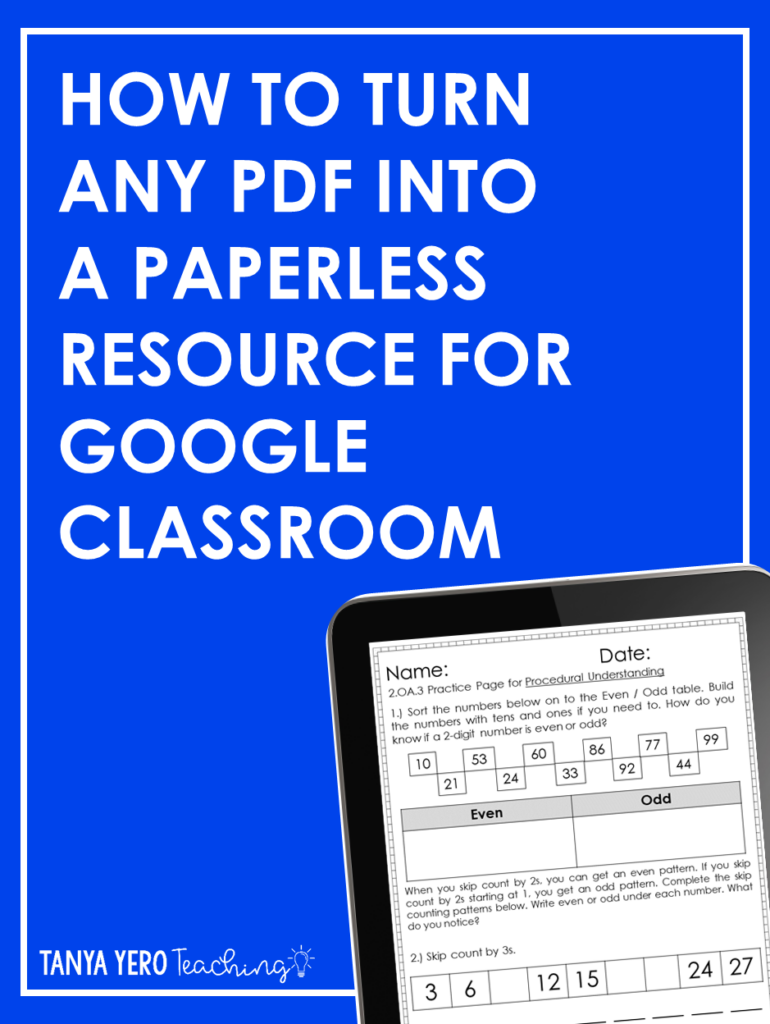
When using Google Classroom, there are so many options available to you. PDFs have quickly become one of my favorite file types to send to students. If you know what kind of device they have, you can send them the PDF that will work best for them! Plus, you are reducing your use of paper, which is a win for the earth! Read on to find out How to Turn Any PDF into a Paperless Resource for Google Classroom!
Use Built-In Tools
If you are looking for the easiest route, use the tools already built-in to Google Tools for EDU! When you assign an activity as a PDF in Google Classroom, students need a little extra help in the instructions. The first thing you want to tell them to do is to click on the “Grapes” as we call them. Those are the three dots in the upper, right-hand corner of the screen after they click on the PDF.
When the student clicks on the “Grapes” or “3 dots” or whatever fun name you come up with, they will want to then click on “Open in new window.” This will let them use other connected apps to edit the PDF document directly.
Just to be fair, opening this document in Google Docs might be a bit more than frustrating. The formatting will be strange, and the PDF might only translate into text, which isn’t always helpful. Any third-party apps may or may not work, depending on the restrictions on your students. So, while this may be the easiest for students, it may not be feasible for everyone.
Explore Third-Party Apps
Beyond what Google for EDU recommends, there are a few third-party applications that can work with Google Classroom. The one that seems to work the best is Kami App. Once you have created an account and added the Kami Chrome Extension, you can create a Kami assignment in Google Classroom.
As you create the assignment, be sure to check the box to add instructions to it for the first few times. Students will need to know how this new app works, and it will help you, as well!
From there, you will want to choose a class to assign the activity to, and you should be good to go! Kami allows students to insert text boxes, draw on PDFs, and pretty much adjust anything on the PDF. The level of editing a student has directly relates to the level of account the teacher holds. When students open an assignment with a Kami attachment where the teacher has included the instructions, they will see two documents as shown below. One is the assignment, the other is the instructions. Students will need to have access to add extensions to their account, or Kami will need to be whitelisted by the district Google Administrator.
What students see when they follow the directions to “Open in Kami”:
Use the Powers of Student Devices
So many students have either a school-issued device or a personal device at home, it would be silly to overlook this option. When assigning a PDF, you have to remember that it is, after all, an image file. One option will always be to take a screenshot, edit the picture, and turn that in as a completed assignment. Both iOS and Android devices have a “Markup” option built into their native photo app. If students are working on a Windows device, they can use the “SnipIt” tool. If they are working on a Mac, they can use the built-in screenshot options of Shift+Cmd+3, 4, or 5. Once they have the picture, students can use the editing tools to complete basic tasks like highlighting, commenting, and adding text.
Now, if you want to go even deeper, you can use tools like Adobe Acrobat to create editable PDF documents. There are plenty of tutorials and how-tos on Adobe’s site to help you with that. For those of you looking for an easy solution, though, I suggest you look into one of the options above. Whether you use Google’s recommended tools, the Kami App, or just rely on students to edit a screenshot of the assignment, you will be saving paper and reaching students through a different medium. With as fast as our world is changing, it can’t hurt to have this skill in your teacher tool belt! Have you ever considered How to Turn Any PDF into a Paperless Resource for Google Classroom? Which of these options sounds the easiest for you? Let me know what has worked for you in your distance learning or in-school Google Classroom.